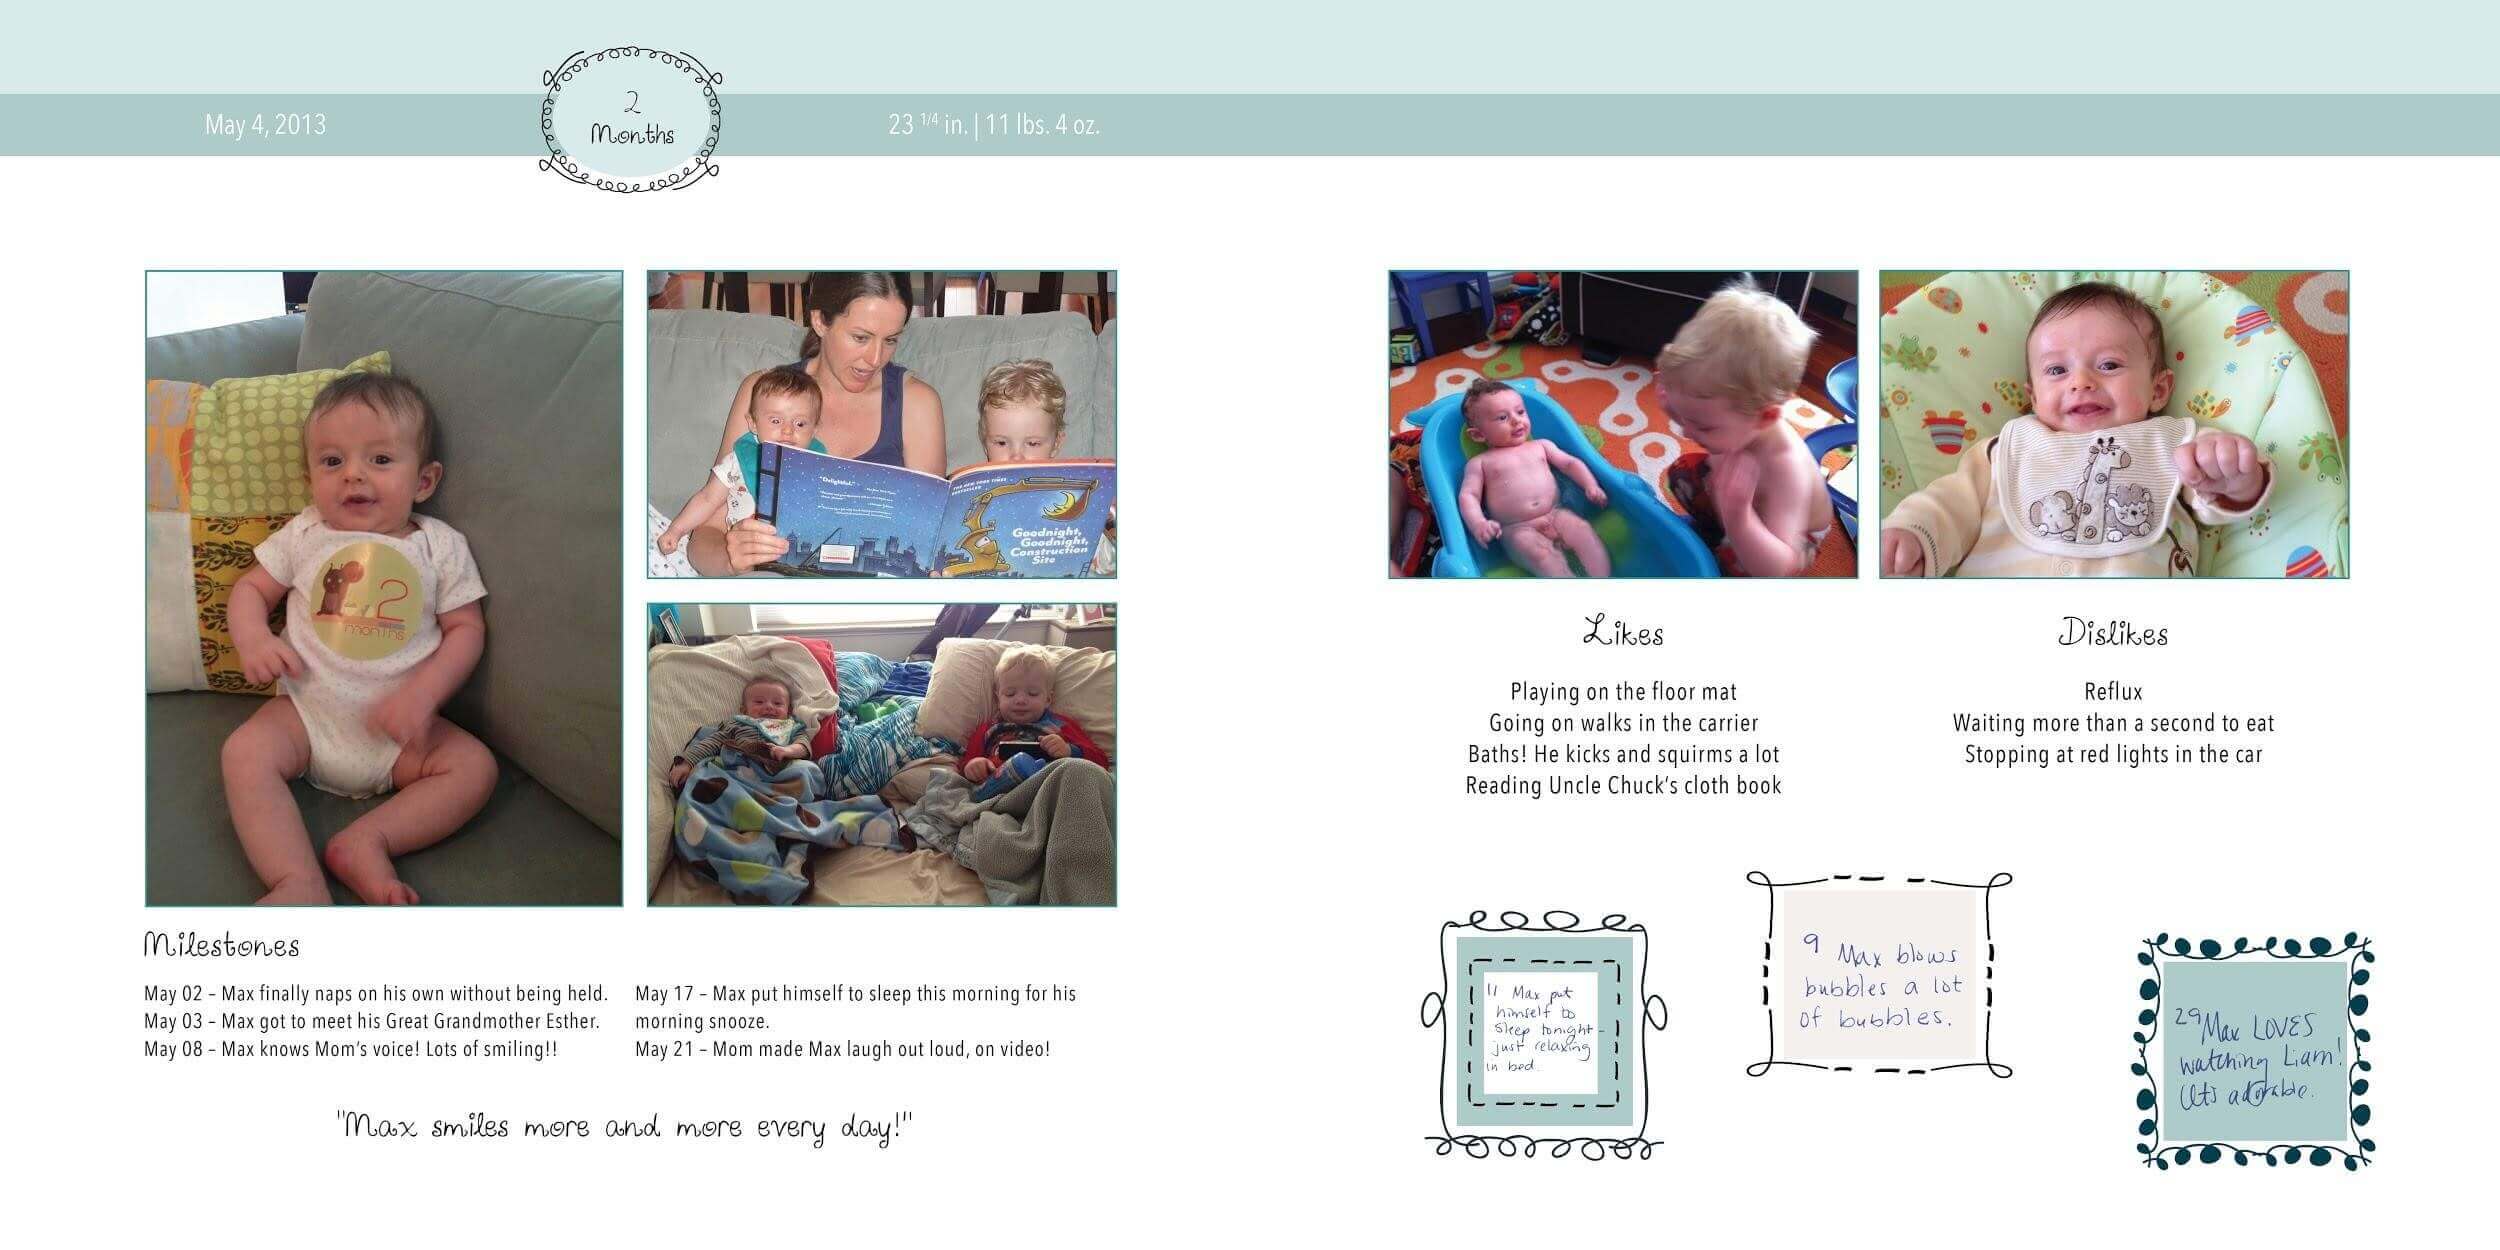
Cuteness Overload: How to Organize Your Baby Pictures

“Quick! Get the camera!” How many times have you heard that in the first couple of years of your child’s life? Every year, people take thousands of photos of their children. With today’s technology, cameras are easily accessible on our phones and tablets, digital cameras are cheaper than ever, and everyone in your family is going to take their own photos. How do you manage all of that digital photo overload? Follow these tips!
- Set and stick to an organizing routine. Photos don’t tell a story when they’re lost on your phone. Every couple of weeks, try to organize all of the photos you’ve snapped. It may not seem worth the time when you’re in the weeds, but the longer you let it get away from you, the longer it will take to get it under control. Beautiful babies mean a lot of pictures, and you want to remember every moment captured!
- Decide what you want out of it. Are you making a baby book or annual photo books? Are you interested in easily sharing your photos online with friends and family? Once you know what your goals are, the easier it will be to sit down and do some organizing. If making a book is important to you, it’s going to save a lot of time, in the long run, to organize as you take photos. Your goals will also help you to know how much time you need to spend doing things like tagging and sorting favorites.
- Create a flow. You know what you want and you’ve made the time—now what? Try this simple, step-by-step workflow to help you get started with your organizing. Even if you’ve been neglecting your digital photos, you can use this same flow to go through your photos from the past year or two.
- Get the photos off your devices and onto your computer. Use your preferred method of uploading and get everything that hasn’t been sorted into a master folder to cull through.
- Make folders. The best method for this will vary from person to person. For newborns who change so rapidly and have so many milestones, it makes sense to have a folder for their first year and monthly sub-folders. If your children are older and you’re sorting through a backlog, try a folder by year with quarterly sub-folders.
- You can be as detailed or general as you want with this part, but be realistic about the time you intend to spend. Digging through 10 levels of folder structure can be as frustrating as trying to find a specific photo in one folder with 1,000 pictures in it.
- Don’t worry about what photos are good or bad, just start moving photos from your master folder into their appropriate folders. If you don’t remember specifically where they belong, check your photo metadata for the date it was taken. The easiest way to check the metadata of a digital photo is to open it in photo software on your desktop or reference your camera roll if the photo is recent.
- Keep your videos separate from your photos within your subfolders.
- Rename as you go. This step is an important tool for sorting and organizing, and it’s useful if you have a large family who always wants photos or if you plan on making photo gifts.
- Try a free, downloadable program that allows you to rename multiple files.
- Try labeling by date and event. For example, instead of having several photos with variations of “IMG_81928.jpg,” you can have “2015-02-1st_ Birthday.jpg”
- If you follow the same structure for dates when you do any renaming and use a number system, your computer will automatically sort chronologically.

- Delete, delete, delete. This is the hardest part, but it’s the most important. There are two parts to this step — deleting the bad photos, and deleting the similar photos.
- The bad photos. You’ve done it before. When you take a bad photo on your phone, you delete it right away. If it’s easier, make a “Delete” folder to put all the bad photos in so you can go through one final time. Here is an easy list of things to consider as you go through and delete.
- Blurry
- Underexposed (too dark) or overexposed (too bright)
- Bad faces
- Closed eyes
- The similar photos. These are the extra photos you get from your camera’s burst function and family members who all take the same photo of the first birthday cake. Here are some quick tips to help decide which of these photos are worth keeping:
- Is everyone looking at the camera?
- Do three to five pictures represent the whole experience better than all 25?
- Does it trigger an emotional response?
- Picking favorites. You’re going to find photos that wow you, make you laugh or cry, or make you run down the hall to show your family. Set these pictures aside! Even if you don’t know what your ultimate goals are for your photos, put a copy into a “Favorites” folder. Every time you reference it, your labeling system will tell you exactly where that photo came from. Here is a fun list of favorite moments and firsts you should watch for!
- First photo in front of the Christmas tree
- First Halloween costume
- First day at the beach
- First time eating cake
- First photo with the grandparents
- First time in the snow

- Back everything up! Once you have an organized folder of pictures, it’s important to save your work. The folder you have on your computer is your baseline, but you should download that to an external hard drive that you keep somewhere safe. When you do your next round of sorting and deleting, update that folder on your hard drive as well. There are also a number of photo-sharing sites and cloud storage options that make it easy for your family to have access, but those should not be your primary source of backup.
- Have fun! This project can seem daunting, but you will truly enjoy reliving your children’s earliest years, and going through these photos may inspire you to create fun photo projects or share a forgotten moment with friends and family.
Jennifer Niloff is a lifelong scrapbooker who turned her passion into the nation’s leading photo-organizing business, EverPresent. Established in 2012, her company now employs over 40 professionals and serves clients nationwide. Jennifer writes on topics ranging from photo-scanning best practices to digital photo organizing to using photo books and edited slideshows as the best methods to share your important family photos and videos with loved ones.


