Healthy Toddler Snacks That Are Sure To Delight

These healthy snack ideas will delight any toddler when opening their lunchbox. These recipes are all easy and affordable and don’t require any special equipment.
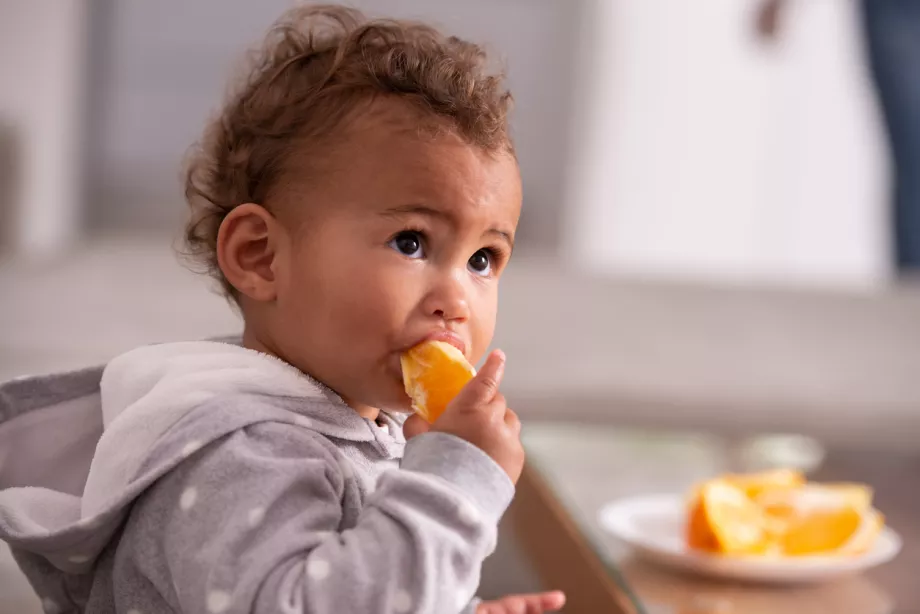
Even if you feed your kids a three-course meal, they'll inevitably stumble into the kitchen an hour later, begging for snack time. So instead of discouraging their grazing, try offering a healthy option that will satisfy your child until the next meal time and give you a little peace of mind about what's going into their body. Whether it's after breakfast, in the afternoon, or before bedtime, we've gathered 11 healthy snack options perfect for any situation.
Tips to Encourage Toddlers to Eat Healthy Snacks

- Get kids involved in preparing the snack – companies like Doddl make safe, easy-to-use toddler knives that’ll help your child feel like a trusted and responsible part of the cooking process.
- Keep ready-to-eat healthy items at eye level, such as applesauce, yogurt, dried fruit, etc.
1. Frozen Yogurt Bites
Store-bought yogurt bites can often be full of sugar. While you need to make these ahead of time, they’re simple, quick, and make the perfect toddler snack. Plus, you can keep them in the freezer for up to six months.
What you need:
- 1 box of Gogurt
- Parchment paper or wax paper
Directions:
- Line a cooking sheet with parchment or wax paper.
- Cut a hole in the yogurt tube.
- Squeeze small dots of yogurt, spread out, all over the cooking sheet.
- Freeze for at least four hours.
- Store the leftover yogurt bites in a storage bag in the freezer.
2. Ants on a Log
The classic Ants on a Log is not only a fun way to encourage children to eat healthy snacks, but it's also simple enough for kids of all ages to help prepare.
What you need:
- Celery (washed)
- Peanut butter
- Raisins
Directions:
- Cut the celery into manageable pieces.
- Spread peanut butter on the celery.
- Have your child place the ants (raisins) on the peanut butter.
Note: To get more veggies into snack time, you can substitute the peanut butter for hummus, which is made from chickpeas. Plus, if you switch out the raisins for cucumber, it looks like a snail!
3. Peanut Butter Chocolate Chip Apple Rings
Apples are a nutritious snack high in fiber and antioxidants. Since a whole apple isn’t always kid-friendly, these Peanut Butter Chocolate Chip Apple Rings are a manageable size for little ones.
What you need:
- 1 apple
- Peanut butter
- Chocolate chips
Directions:
- Slice the apple into rings.
- Core the apple. A simple way to cut out the core is by using a measuring spoon.
- Spread the peanut butter and sprinkle on the chocolate chips.
Note: Feel free to switch up the toppings and use almond butter or another nut butter, walnuts, almonds, cashews, shredded coconut, or granola.
4. Baked Apple Crisps / Chips
The sweet apple and cinnamon spice combine to make these crunchy baked apple chips the ideal satisfying post-dinner snack. Plus, there’s no added sugar, so you can essentially consider this one a fruit snack.
What you need:
- Apples
- Cinnamon
- Chocolate chips
Directions:
- Preheat oven to 250 degrees.
- Slice apples very thinly. A mandolin creates the perfect slices.
- Evenly place the apple slices on a parchment-lined cooking sheet.
- Bake for 45 minutes, flip, and bake for an additional 45 minutes.
Note: If stored in an airtight container or storage bag, they can last about one week.
5. Blueberry Yogurt Bark
After making this sweet and healthy blueberry yogurt bark, you’ll never want the candy chocolate bark ever again.
What you need:
- Blueberries
- Your favorite yogurt, including Greek yogurt or Gogurt.
- Parchment paper
Directions:
- Line a cooking sheet with sides or a baking pan with parchment paper.
- Evenly spread out the yogurt.
- Place blueberries on top.
- Freeze for at least four hours.
- Break into pieces and store in an airtight container or storage bag in the freezer for up to six months.
Note: If you don’t like blueberries, experiment with other fresh fruit like raspberries or strawberries. Dried fruit is also an excellent option that won’t get soggy.
6. Graham Cracker Fruit Pizza
This snack is highly customizable, making it an ideal easy snack for kids of all ages or even adults.
What you need:
- Graham Crackers
- Your favorite spread, such as Nutella, peanut butter, almond butter, cream cheese, or yogurt
- Fruit
Directions:
- Layer your spread of choice on the graham cracker.
- Top with sliced fruit, including bananas, strawberries, clementines, and raspberries.
Note: Try using cinnamon graham crackers or a flavored cream cheese spread.
7. Tortilla Roll-Up
You’ll be hard-pressed to find a snack that’s as quick and easy as this tortilla roll-up.
What you need:
- Whole grain tortilla
- Banana
- Peanut butter
Directions:
- Evenly spread the peanut butter on the tortilla.
- Place the banana in the center and roll it up.
- To prevent choking hazards, cut it up into small pieces.
Note: If your kids don’t like the roll-up style, you could cut up the bananas and make a fruit quesadilla. You could also substitute the tortilla for pita bread.
8. No-Bake Cheerio Granola Bars
Make these granola bars from The Lazy Dish ahead of time, so your kids always have healthy finger foods at arm's reach.
What you need:
- 3 cups Cheerios
- ¾ cup peanut butter
- ½ cup honey
Directions:
- Line an 8x8 pan with parchment paper.
- Heat the peanut butter and honey in a saucepan until melted and combined.
- Remove the saucepan from the heat and slowly mix in the Cheerios until well combined.
- Pour the mixture into the 8x8 pan and press down.
- Cover and refrigerate for at least one hour. Cut into bars.
Note: Store them in the refrigerator to keep them fresh.
9. Veggie Ladybug Cracker
The cute ladybug cracker will be exciting for kids to design and eat!
What you need:
- Cherry tomatoes
- Whole-grain crackers
- Cottage cheese
- Black olives
Directions:
- Slice the cherry tomatoes into quarters.
- Spread cottage cheese onto the crackers.
- Place the olive on the cracker as the head and two pieces of cherry tomatoes as wings.
10. Trail Mix
Trail mix is one of the best healthy snack ideas for all ages. You can customize it depending on your children's preference or make it different every time.
What you need:
- Dried fruit
- Pretzels
- Chocolate chips
- Nuts
Directions:
- Mix equal amounts of each item in a large bowl. Store it in an airtight container or storage bag.
11. No-Bake Cookies
While cookies don’t seem like a healthy snack, these No-Bake Cookies are made with minimal ingredients and won’t leave you in a sugar coma.
What you need:
- Peanut butter or almond butter
- ¼ cup unsweetened cocoa powder
- ½ cup honey or maple syrup
- 1 to 1 ½ cups rolled oats
Directions:
- Heat peanut butter and honey in a saucepan until well combined and beginning to bubble.
- Remove from heat and add in cocoa powder and rolled oats.
- Scoop a spoonful out onto a baking sheet lined with parchment paper.
- Refrigerate for an hour.
Note: These can last in the fridge in an airtight container or storage bag for two weeks.
12. Dried Apricot Bites
What you need:
- 1½ cups dried apricots
- ½ cup raisins
- ¼ cup raw almonds
- ¼ cup walnuts
- 3 tablespoons desiccated unsweetened coconut
- 1 tablespoon flax seeds
- 1 teaspoon vanilla essence
- ½ teaspoon cinnamon powder
Directions:
- Transfer apricot, walnuts, raisins, almonds, flaxseeds, coconut, and cinnamon powder to a food processor.
- Pulse a couple of times to combine.
- Add vanilla essence and mix until blended.
- Roll the apricot dough into balls. Enjoy them as is or dust the energy bites with desiccated coconut.
13. Homemade Cherry Pie Larabars
Instead of buying Larabars from the store, why not make your own and customize them to your little one’s taste? This quick and easy recipe from Liete’s Culinaria is sure to delight.
What you need
- Mild olive oil, vegetable, or coconut oil for the pan
- 1 cup packed dried cherries
- 1/4 cup packed, pitted, soft whole dates
- 1 cup warm water for soaking the fruit
- 1 cup raw almonds
- 1/4 teaspoon ground cinnamon
- 1/8 teaspoon fine sea salt (optional)
Directions
- Rip off a large piece of parchment paper or plastic wrap, press it into a 9-by-5-inch loaf pan, and, if using plastic wrap, slick it with a little oil.
- Combine the cherries, dates, and warm water in a small bowl. Let stand for 5 to 10 minutes, until the fruit is soft. (If the dried fruit you're using is already super soft and moist, you can skip the soaking step.) The exact timing will vary according to the dryness of the fruit.
- Drain the fruit, discarding the soaking water. Pat the fruit completely dry with paper towels.
- Meanwhile, place the almonds in a food processor and process until finely chopped but not paste-like.
- Add the drained fruit, cinnamon, and salt (if using), to the food processor and pulse until the fruit is finely chopped and the larabar mixture begins to stick together and clump against the sides of the bowl and your processor starts hopping on the counter just a little. This could take up to 2 minutes.
- Transfer the larabar mixture to the prepared loaf pan. (Alternatively, you can form the mixture into any size or shape you can imagine. Go a little crazy.) Place a large piece of parchment paper or wrap slicked with oil atop the bar mixture and use it to spread and flatten the mixture evenly in the pan. (If you have a second loaf pan, you can nestle it inside the first and press the pan down to evenly flatten the mixture.) Leave the paper or wrap in place. Refrigerate for 30 minutes.
- Using the paper or wrap hanging over the edge of the pan, lift the bar mixture from the pan and transfer it to a cutting board. Discard the paper or wrap and cut the rectangle into 6 bars. Tightly wrap each bar in wrap.
- The bars will keep at room temperature for up to 3 days, in the refrigerator for up to 3 weeks, or in the freezer for up to 3 months (let the frozen bar thaw for 1 hour before attempting to bite into it).
14. Chia Seed FlapJacks
Chia seeds are rich in nutrients and add great texture to these flapjacks.
What you need
6 tbsp. coconut oil, plus extra for greasing
175g/6oz rolled oats
100g/3½ oz pecan nuts, chopped
50g/1¾ oz pumpkin or sunflower seeds
50g/1¾ oz chia seeds
40g/1½ oz flaked coconut
75g/2½ oz dried cherries, cranberries, or blueberries
100g/3½ oz chopped dried figs or dates
1/2 tsp. vanilla extract
115g/4oz honey
3 tbsp. soft brown sugar
Directions
- Preheat the oven to 180°C/350°F/ gas 4. Grease and line a 20 x 30cm/8 x 12in a cake pan with baking parchment.
- Put the oats, pecans, and pumpkin seeds in a baking pan and toast in the oven for 10 minutes, stirring occasionally, until lightly golden. Tip into a bowl and mix with the chia seeds, coconut flakes, dried fruit, and vanilla extract.
- In a small pan, heat together the coconut oil, honey, and sugar, stirring until the sugar has dissolved and the mixture starts to boil. Simmer for 2 minutes, then pour over the oat mixture. Mix well, then tip into the prepared pan. Press into the edges with the back of a spoon and bake for 25–30 minutes, until lightly golden on top.
- Leave in the pan until completely cool, then turn out and cut into squares. The flapjacks will keep in an airtight container for up to 2 weeks.
