Make a DIY Christmas Snow Globe
Making a DIY Christmas snow globe is one of our favorite Christmas crafts. Chances are, you can do it with things you already have on hand.
Not only that, but you can use the same process to make festive scenes for other holidays, birthdays, rainy days, and more.
Once you make your first, we’re sure it will become one of your go-to winter crafts.
Are you ready to get started? Here are instructions for our favorite designs.
1. Quick and Easy Snow Globe
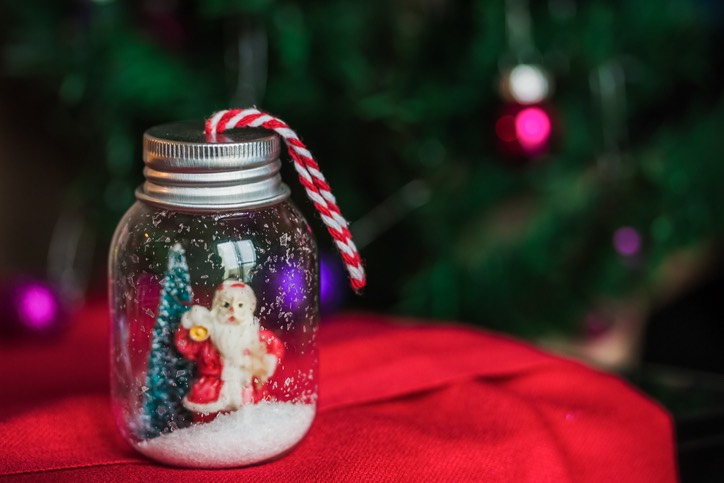
This is a fun craft for kids of all ages — even preschoolers! Don’t worry about making it exactly like the ones you see in the stores. Let your kids’ imaginations run wild!
What You'll Need
- Glass jars with their lids
- Small toys, Christmas figurines, Lego pieces, etc.
- White glitter or snowflake confetti
- Aquarium gravel, pebbles, or decorative marbles
- Hot glue gun and glue sticks
- Tap water
- Food coloring (optional)
Instructions
- Wash and dry the jar and the lid. Remove any labels and glue from the outside of the jar.
- Glue the gravel and figurines to the inside of the jar lid, using your hot glue gun. Let the glue sit and dry. If you’re doing this with younger children, be careful while gluing because hot glue is very, very hot!
- Fill the jar with cold water, leaving 1/3-inch at the top. You can add food coloring if you like, for example, for a blue sky effect, or if you’re making an underwater or outer space scene.
- Add two tablespoons of glitter or confetti.
- Take your hot glue gun and squeeze a line of glue around the inside rim of the lid. Immediately screw the lid on tight to seal the jar.
- Turn it upside down and let the magic begin!
2. Delux DIY Mason Jar Snow Globe
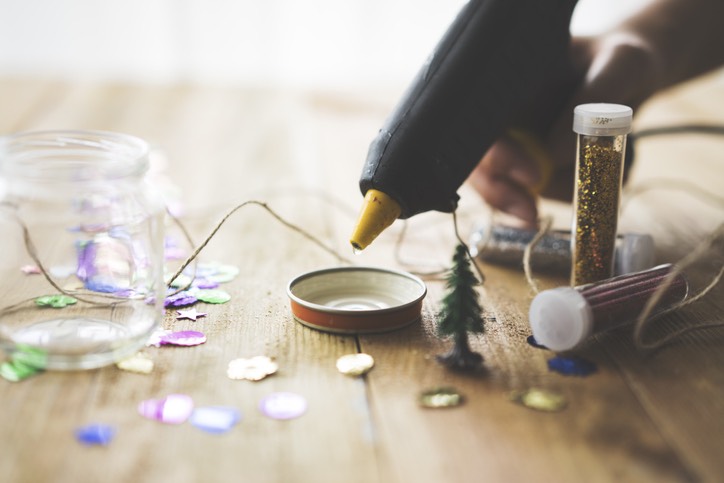
Feeling ambitious? Take your snow globe craft to the next level with this snowman snow globe from Martha Stewart. You’ll probably need a trip to the craft store for this one.
This snow globe idea isn’t one of those quick kids' crafts that you can finish in a few minutes. You’ll need time to bake the clay, as well as 48 hours for the sealant to cure, so plan accordingly.
What You'll Need
- Glass jars with lids
- Polymer clay
- Aluminum foil
- Rolling pin
- Scissors
- Clear nail polish
- Glycerin
- Distilled water
- Glitter or snowflake confetti
- Silicone sealant
- Waterproof craft glue
Instructions
- Take a piece of aluminum foil and crumple it into a ball. This will be the base for your winter scene, so be sure that it fits inside the jar lid. Press the ball down to flatten it.
- Roll a piece of your polymer clay with your rolling pin. This will be your ground cover. Choose white if you want a snowy scene.
- Wrap the clay around the foil lump. Place the clay-covered foil onto the inside of the jar lid. Now you’re ready to start building your scene.
- Build your scene from polymer clay. Glue your pieces together and to the covered foil.
- Polymer clay needs to be baked in order to set. Bake your winter scene in the oven according to the manufacturer’s directions. To protect your scene from discoloration, make a dome from aluminum foil.
- Once your scene is baked (this should take about 20 minutes) and cooled, use your silicone sealant to glue it to the bottom of the jar lid.
- You’ll need to protect your clay from the liquid inside your snow globe. Paint your scene with clear nail polish. Get every crack. Allow it to dry and cure for 48 hours.
- Once your scene is cured and ready, fill the jar almost to the top with distilled water. Add a few drops of glycerin. Glycerin will make the glitter fall more slowly, like a real snowfall.
- Now, add your glitter to the jar and mix.
- Squeeze a line of sealant around the lip of the jar.
- Now, screw the lid on – tight!
- There may be a bit of overflow. That’s fine. Just wipe it off.
- Shake your snow globe and enjoy!
Want to see how it’s done? Check out an official tutorial!
3. Waterless Snow Globe
If a snow globe gets broken, it has the potential to create a lot of mess. Fortunately, you can make a waterless snow globe that’s just as much fun. Here’s how.
What You'll Need
- Glass jars
- Small Christmas figurines, miniature trees, etc.
- Hot glue gun and glue sticks
- Glitter spray or white spray paint
- Glitter or plastic confetti
Instructions
- Remove the jar lids and spray paint them inside and out.
- If you like, spray or sprinkle your miniatures with glitter.
- Glue your miniatures to the inside of the jar lid with hot glue.
- If you’re using canning jars, take this opportunity to glue the pieces of the lid together for extra security.
- Add your glitter or confetti to the jar. You’ll only need a little bit. You don’t want to bury your winter scene completely!
- Now, screw your lid back on. You can secure it with hot glue first if you like, but it’s not mandatory, as there’s no water to leak out.
- Turn your snow globe over, give it a shake, and watch the fun!
Other Globe Themes
Sure your DIY snow globe can be a winter wonderland, but there’s no reason for your craft ideas to end there. Try some of these ideas.
- Blue food coloring with star-shaped confetti and silver glitter for an outer space scene
- Aquarium decorations and fish miniatures for an undersea globe
- How about safari animals?
Snow Globe Ornaments
Waterless snow globe ornaments should be on everyone’s holiday crafts list. Homemade snow globe ornaments make great Christmas gifts, and they also look beautiful on the Christmas tree. Simply substitute snap-apart clear plastic Christmas balls for jars, and off you go!
DIY Snow Globe FAQ
Got questions? Find the answers here!
What Liquid Do You Use to Make a Snow Globe?
You can use a couple of different types of liquids.
Water is the most common snow globe filler.
You can add glycerin to the water to make the ‘snow’ fall more slowly.
Some snow globes are filled with clear corn syrup, which makes the snow fall very, very slowly. You can also mix equal parts of water and corn syrup.
Can You Use Baby Oil Instead of Glycerin for Snow Globes?
You can. Just be aware that glycerin is 50 percent denser than baby oil, so the final result won’t be the same.
How Big Should the Jars Be?
Any size will do, from Mason jars to toddler-friendly baby-food jars. You could even make a giant globe for your front porch, using a gallon-sized wide-mouth jar.
Roll on, Winter!
I can’t wait to get started. How about you?
Whether you’re looking for easy crafts and DIY projects for a Christmas gift, homemade Christmas ornaments, or other winter projects, check out the fun ideas in our articles on DIY Christmas cards and gifts, and Holiday Crafts for Kids.

