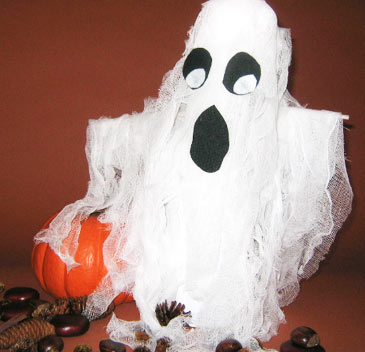
Table-Top Ghost
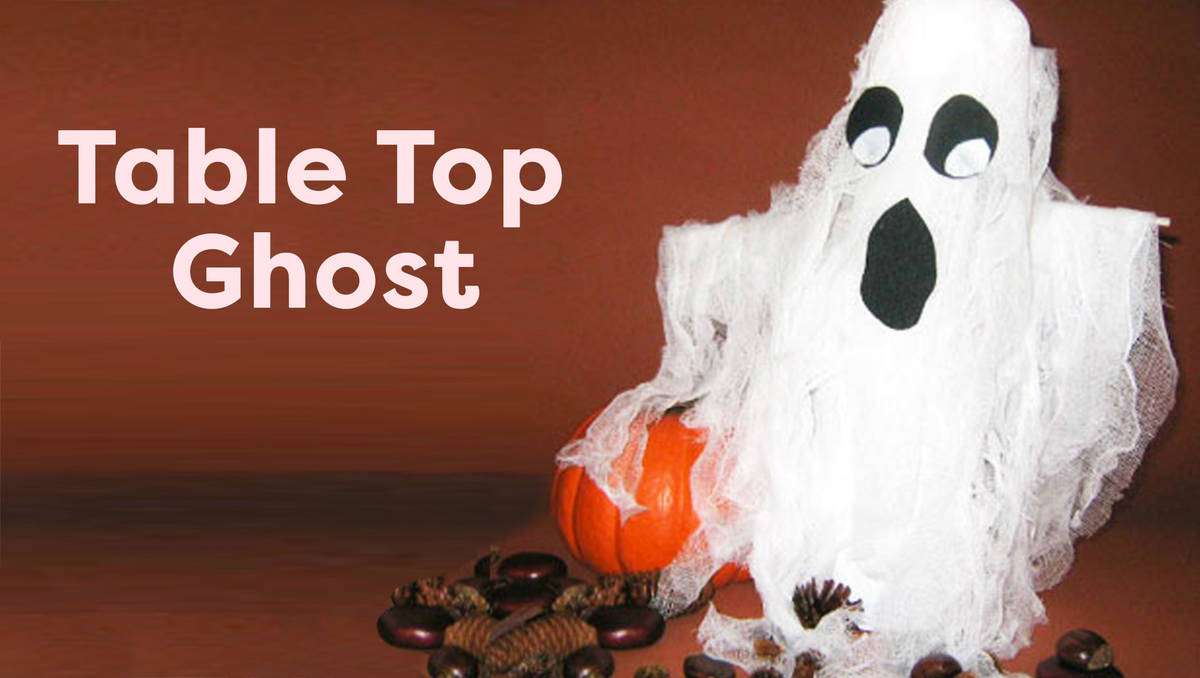
Table-Top Ghost
An Imagination Station Activity
Age: Upper elementary
Time: An hour or more
Type of Activity: Holiday arts-and-crafts
This week, help your kids make a spooky centerpiece that's truly in the spirit of Halloween!
Materials Needed:
· Newspaper to cover the work area
· Old tee shirt for your child to wear
· Cheesecloth (can be bought at a supermarket or craft store)
· Tape
· Two straws
· Balloons
· 2-liter soda bottle
· Black felt
· Diluted glue
What to Do:
Step One: Tape two straws horizontally on the neck of the soda bottle. These are the ghost's "arms."
Step Two: Blow up a balloon to use for the ghost's "head."
Step Three: Tape the inflated balloon to the top of the bottle.
Step Four: Cut the cheesecloth into strips that are 1 inch wide and 15 inches long.
Step Five: Dip a strip of cheesecloth into the diluted glue and drape it over one side of the balloon and bottle.
Step Six: Make sure the cheesecloth is long enough so that the pieces drape on the table.
Step Seven: Keep adding more cheesecloth strips until the entire bottle and balloon are covered.
Step Eight: Cut out eyes and a mouth from the black felt and glue them to the ghost. To nurture your child's creativity and own style, ask her what kind of ghost she wants to create. Scary? Nice? Friendly? Then, help her cut out eyes and a mouth to show this mood.
Step Nine: When the glue is dry, pop the balloon and separate the ghost from the bottle. The cheesecloth should stay in the hardened shape of the balloon.
Step Ten: Place your ghost on the table and let the haunting begin!