Science for Students: Build Your Own Insulating Lunch Container

Science for Students: Build Your Own Insulating Lunch Container
Wouldn't it be cool (ha ha!) to build your own insulating lunch container? Put your knowledge about insulation to use and show off your personal style by bringing your lunch to school in a small insulating container you have designed yourself (with help from a supervising parent or teacher, of course).
All you need are some basic materials that can be picked up at The Home Depot. The instructions below are just a basic design — use your creativity to modify your design to fit your unique personality.
You will need:
- A big sheet of polystyrene foam
- Polystyrene adhesive
- Silicone caulk
- A utility knife
- Foil tape
- Paint, sequins, or stickers to decorate
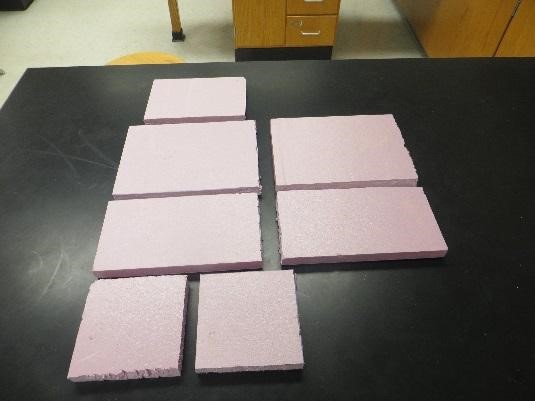
Start with a sheet of rigid polystyrene foam. The thickness you select is up to you — the thicker the insulator, the more it protects against energy transfers. The example shown uses 1 inch thick polystyrene foam. These suggested dimensions are for a container that won't take up too much room in your locker:
Base: 6"x10"
Top: 6"x10"
Long Sides: 4.5"x10" (Quantity: 2)
Short Sides: 4.5"x4" (Quantity: 2)
Inside Top: 4"x 8"
Time to build your lunch container!
- Use a sharp utility knife and a straight edge to cut the polystyrene foam to your specifications. WARNING: A supervising adult should ALWAYS be present when using any knife. Cut the four sides out, a top, and bottom.
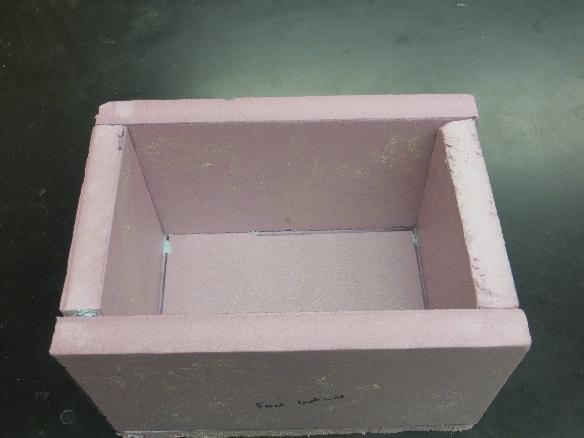
- Attach your side and bottom pieces together using polyurethane adhesive. WARNING: A supervising adult should ALWAYS be present when using any adhesive. Clamp the glued pieces together and let them harden overnight.
- Add another small piece of foam to the bottom of the top cover to create a snug fit with the bottom of the shell.
- Run a bead of silicone caulk along the joints of polystyrene foam to add another layer of insulation and waterproofing.
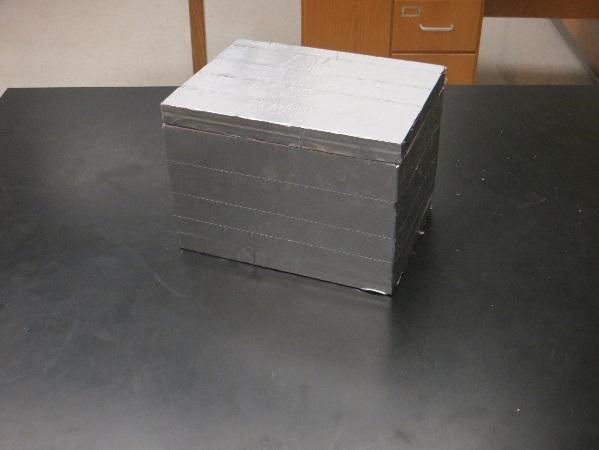
Once you have built the basic shell, you have a container that will resist conductive energy transfers. But what can you do to protect against temperature changes due to radiation?
The simple solution is to cover your polystyrene foam in foil tape that will reflect away incoming radiation and prevent sharp temperature increases when your cooler is out in the sun. Foil tape placed along the inside joints will also help to keep moisture from entering these seams.
At this point your cooler is complete. Now it is time to put your own style on your design. Consider adding a handle or "bling" using paint, sequins and stickers.
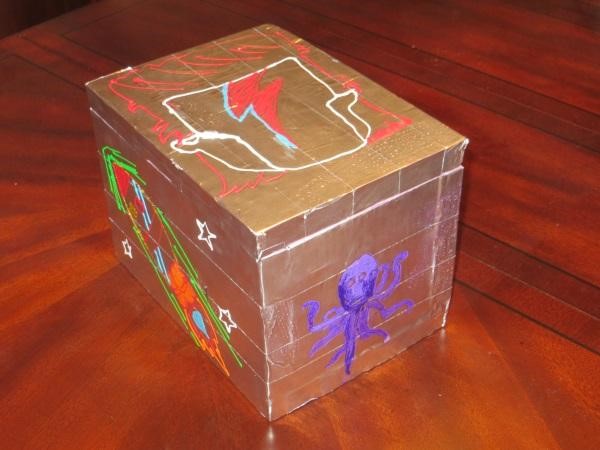
Enjoy your creation!
This is the fourth piece in a four-part Science for Students series. Read part one, part two, and part three.
Mike Willard is a physics and environmental science teacher at Richard Montgomery High School in Rockville, MD. He is also involved in a number of engineering and environmental education outreach programs through the school. You can contact him at Michael_J_Willard@mcpsmd.org.